How to download and install a recovery image for your Microsoft Surface device
So, I got a Microsoft Surface 4 Pro the other day and one of the first things I did was to set up full disk encryption on the main drive.
I used the same software, Disk Cryptor, that I'm using on my desktop PC running Windows 10.
Unfortunately though, I failed to realize that the encryption software is not compatible with systems that don't use a MBR so that I ended in an endless "attempting automatic repairs" loop as the Surface tried to access the system but could not because of the encrypted hard drive.
All options to resolve the issue using the automatic repair options were fruitless, and since I could not reset the PC either because the data was still encrypted on the drive, I had to grab a recovery image manually and use it instead.
Doing so in advanced may be a good option, especially if you don't have access to another Windows PC that you could use when the Surface device won't boot anymore.
Note: A reset will remove all data on the disk. If you still have access to the data on the drive, you may want to use a backup program to back it up before you reset the PC.
Download the recovery image
The process itself is straightforward and the requirements are that you need to have a Microsoft account (which you can create if you don't), the serial number of the Surface device and a USB Flash drive with at least 8 Gigabyte of storage.
- Open Microsoft's Surface recovery image hub on the official website.
- Sign in to a Microsoft account.
- Select the Surface device you need the recovery image for, e.g. Surface 4 Pro.
- Enter the serial number of the device. You find it on the back usually. In my case, it was under the kickstand.
- Click the download button. The file is a 5+ Gigabyte zip file.
Prepare the USB recovery drive
Since the Surface has no optical drive, you need to use a USB drive instead to make the recovery image available on the device. Make sure the drive has a size of 8 Gigabytes or more.
- Right-click on the drive in Windows Explorer and select Format.
- Keep all settings and make sure it is set to Fat32.
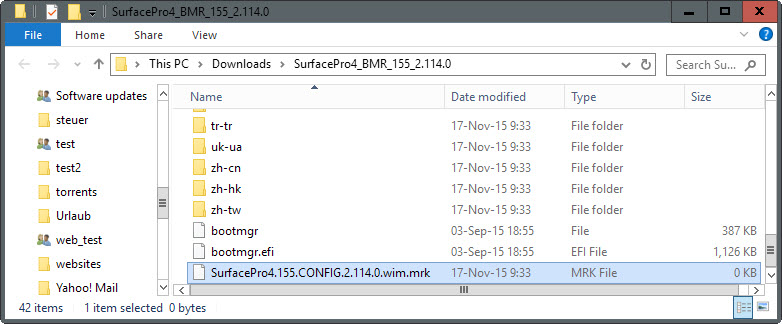
- Once formatted, extract the zip drive to the local system, and copy all of its files to the root directory of the USB Flash drive.
Using the USB Recovery drive to set the Surface
All that is left now is to connect the recovery drive to the Surface and perform the following steps afterwards:
- Plug the Surface into a power outlet to avoid any power related issues during the operation.
- Press and hold the volume-down button.
- Press and release the Power button.
- Release the volume-down button as soon as the surface logo appears.
- Alternatively, if you get a "automatic repair" screen on boot, select Advanced Options.
- Select System Image Recovery from the options and then the USB drive the recovery image is on.
- Depending on the version of the Surface, you may also get "Use a Device" to select the USB device there then.
- Windows will use the data on the drive to reset the PC.
This article was first seen on ComTek's "TekBits" Technology News

- Log in to post comments